
Import from Google Photos
Follow these steps to recover your data from Google Photos and preserve it with Ente. Also, check the Migration FAQ for common questions.
Steps
Open takeout.google.com.
Click on "Deselect All" (since by default all Google services are selected).
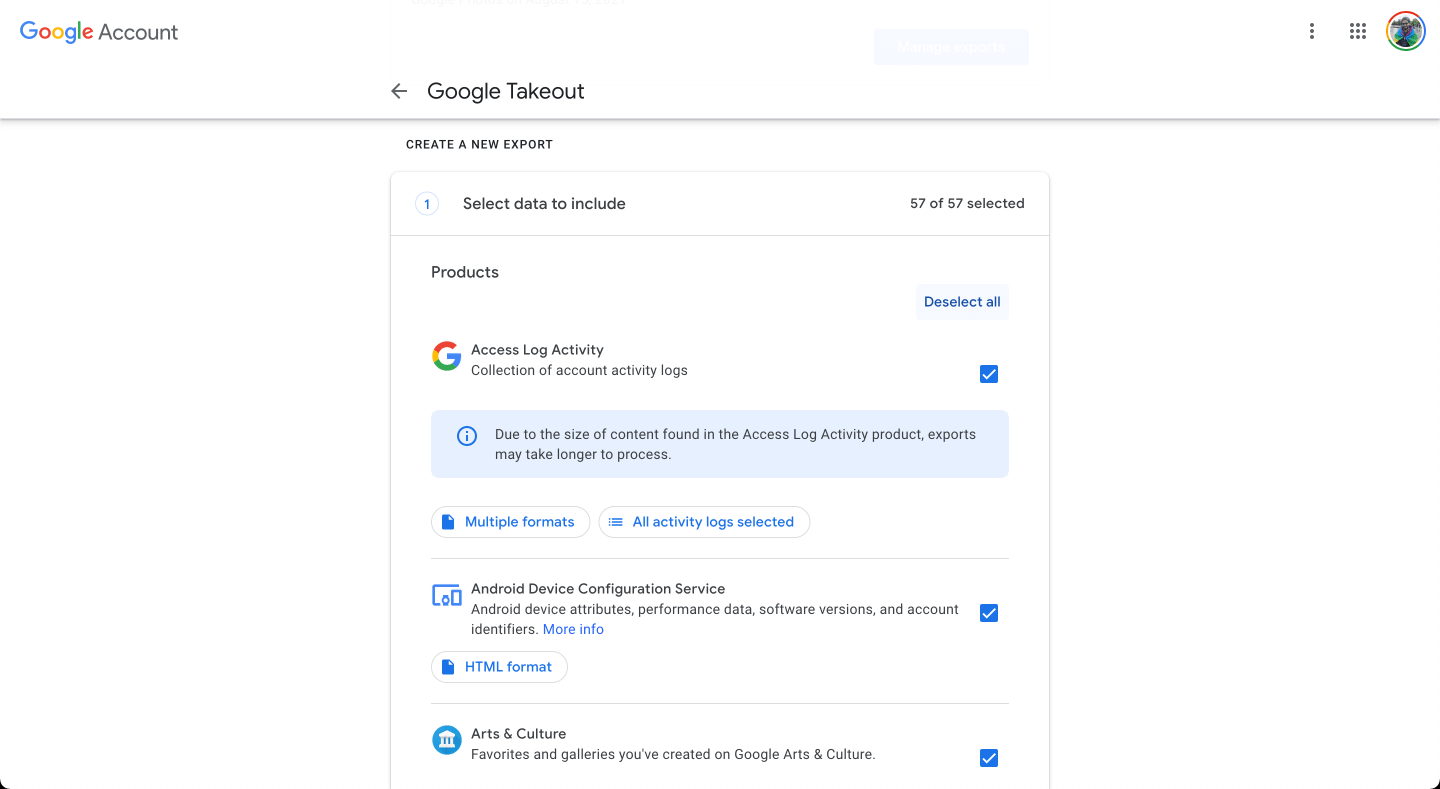
Scroll down to find Google Photos in the list and select it by clicking the check box next to it.
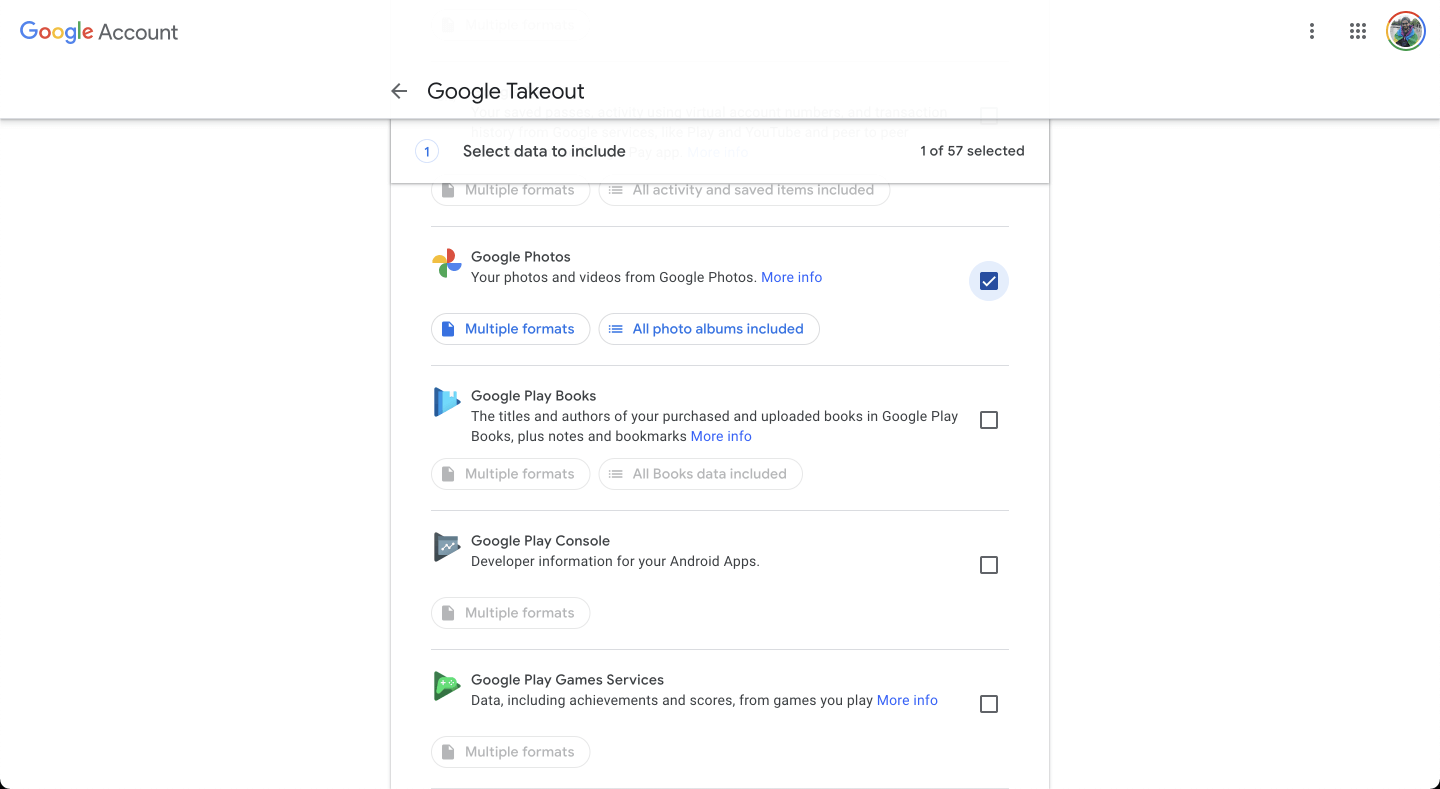
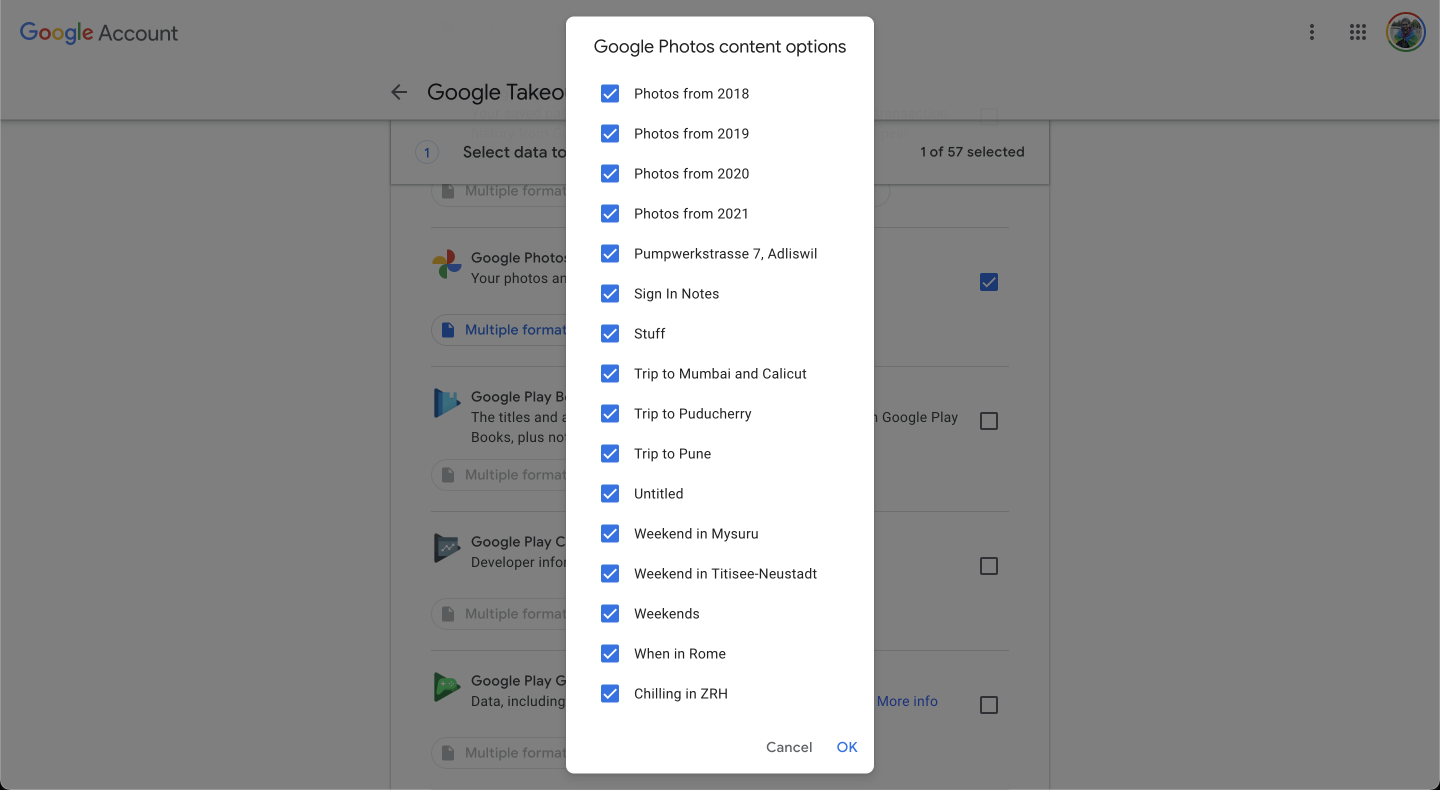
Click on the button that says "All photo albums included".
Select the albums you want to export.
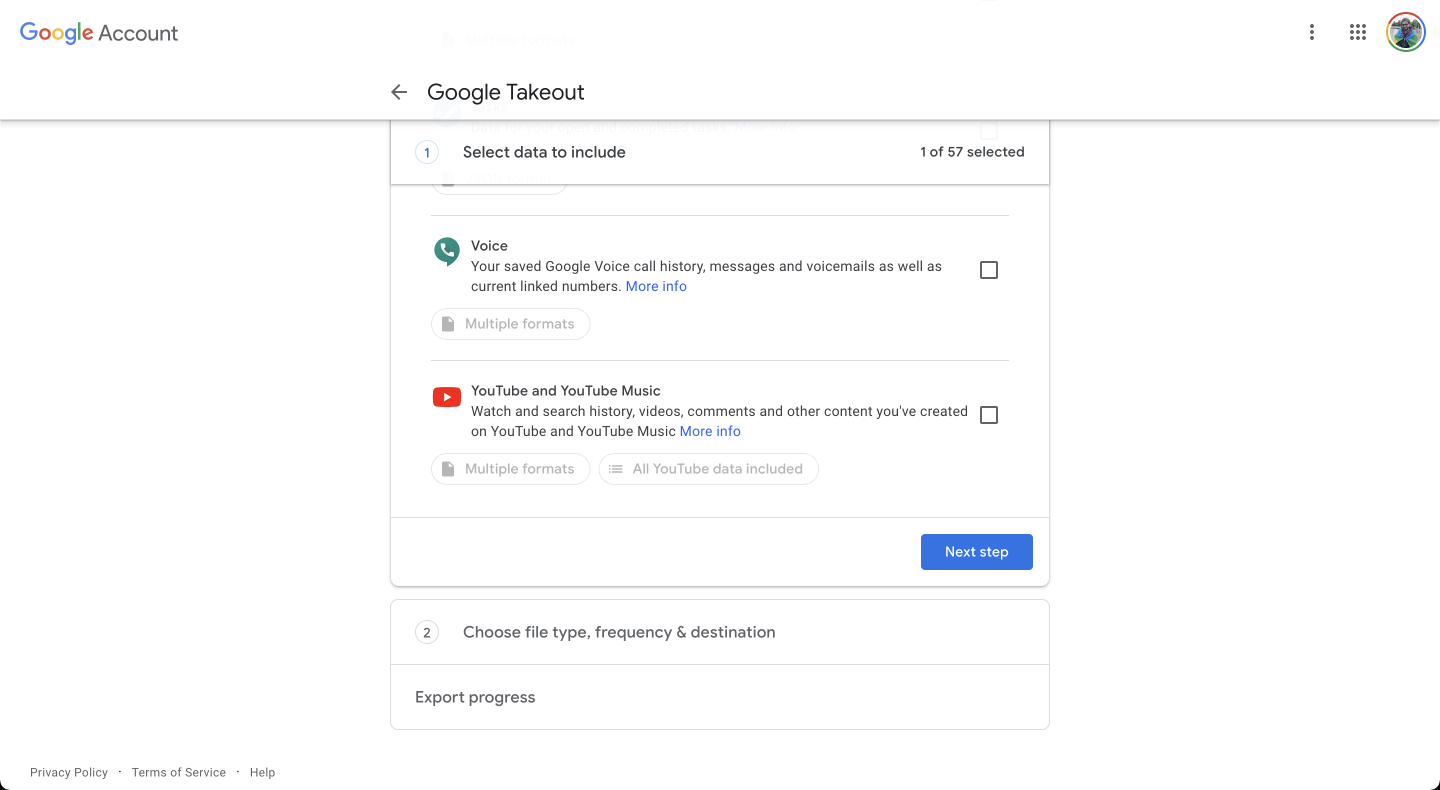
Scroll down and click on "Next Step".
Select "Frequency" and "File size" depending on the amount of storage on your system and click on "Create export". Make sure you select ZIP as the format.
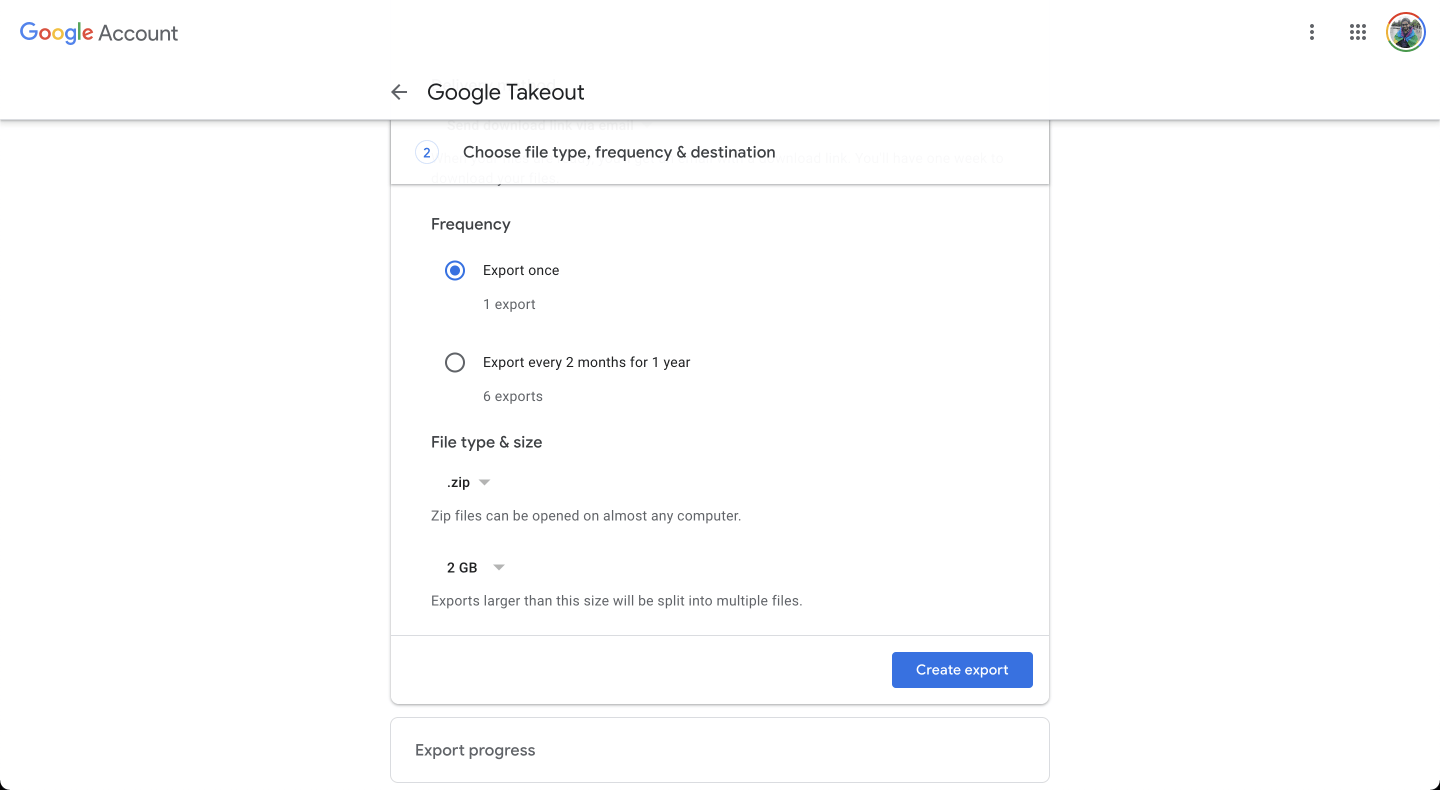
Wait for Google to prepare the export, then download every ZIP part listed for that export before starting the import.
A file ending in
.crdownloadis an unfinished Chrome download. It is not a photo or a completed ZIP, and it may represent an archive containing many photos and videos. Resume the download or download that part again; changing its filename does not complete it.If your computer lacks space, you can download and extract the Takeout on an external drive with enough free space for the archives and extracted files. Keep the drive connected during import. You still need to download the export from Google and upload the files to Ente.
Keep the original ZIPs and extracted files until you have reviewed the import, checked important photos and dates, and verified another backup. See unfinished or oversized Takeout downloads.
Open the Ente desktop app, click Upload, and select Google takeout.
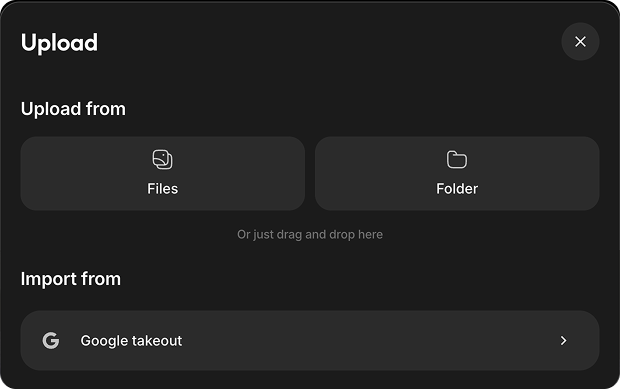
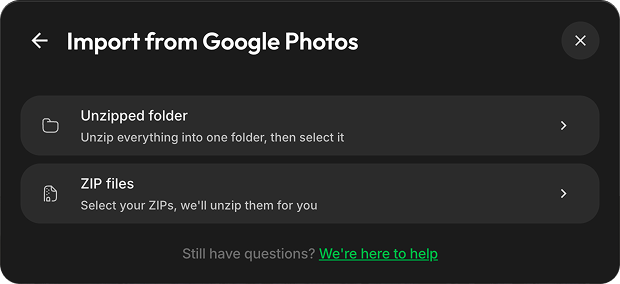
Choose how to select the Takeout:
- Unzipped folder (recommended): If you have multiple ZIP files, extract them all into one parent folder first. Keep the subfolders as-is instead of flattening everything into one folder. This gives Ente the best chance of matching each photo or video with its metadata. Learn more about Google Takeout metadata.
- ZIP files: Select the downloaded ZIP files directly and Ente will extract them. If Google split a media file and its metadata across different ZIPs, the metadata might not be matched correctly.
Choose where to import your photos:
If you selected a folder, decide whether you want to:
- Import to existing album → Pick one of your current albums, or
- Create new album(s) → Click "Create albums", then:
If your folder has subfolders: Choose between "Separate albums" (each folder becomes its own album) or "Single album" (everything goes into one album)
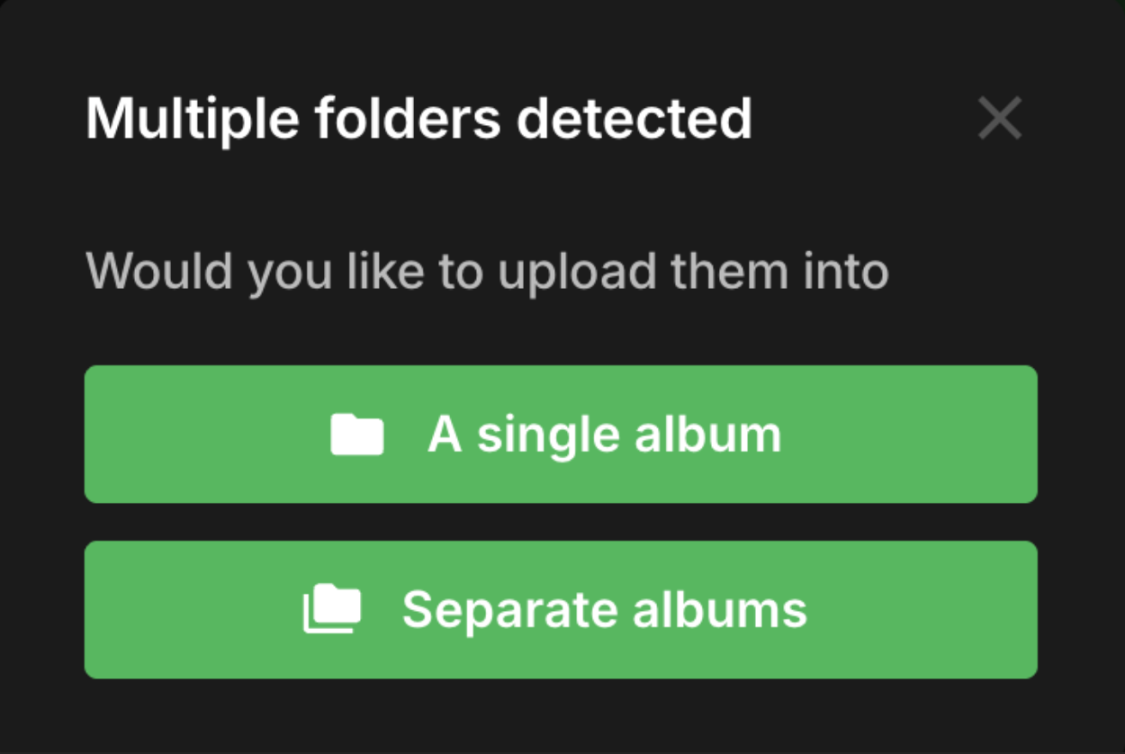
If it's a single folder: Just name your new album
If you selected ZIP files directly:
- Photos are automatically organized into separate albums based on the folder structure within the ZIPs
Wait while Ente scans the selected files. The Calculating Files screen remains visible while Ente counts importable media and albums.
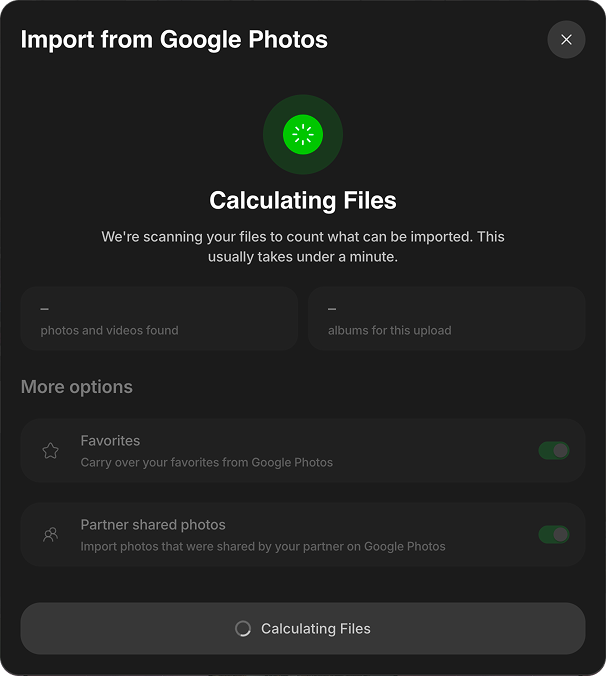
Review the import summary:
- The first total combines the photos and videos found.
- The second total shows how many albums will be created or updated.
- Favorites is enabled by default. Keep it enabled to add items marked as favorites in Google Photos to Ente's Favorites album.
- Partner shared photos is enabled by default. Disable it when the original owner is also importing their library and you want to avoid duplicate copies. Excluded items appear under Skipped with the reason Shared by partner.
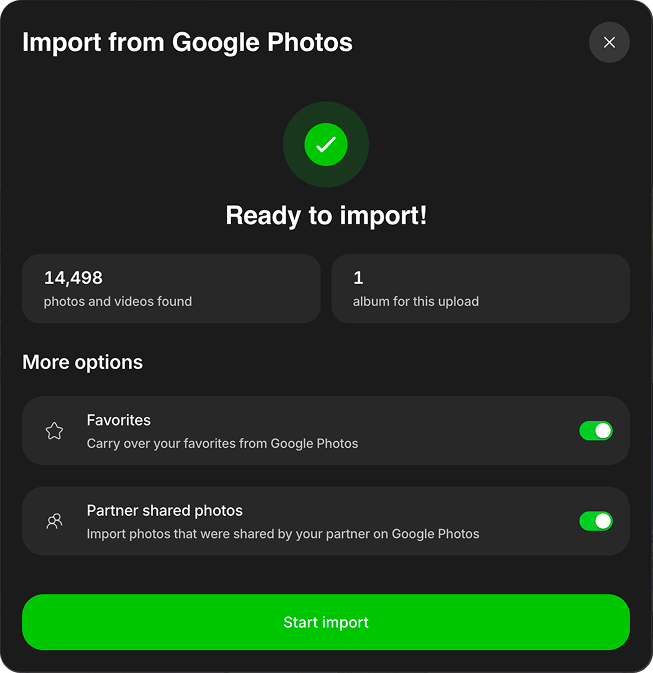
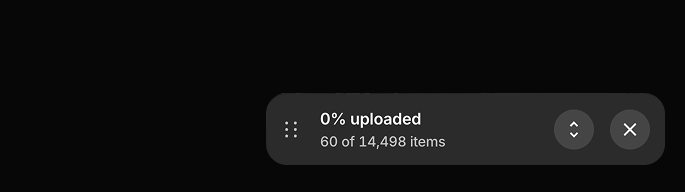
Click Start import. The upload begins as a compact progress card in the bottom-right corner. Expand it to view the current phase and the In progress, Completed, Skipped, and Failed sections.
Ente reads the JSON metadata sidecar files included in the Takeout before uploading the associated photos and videos.
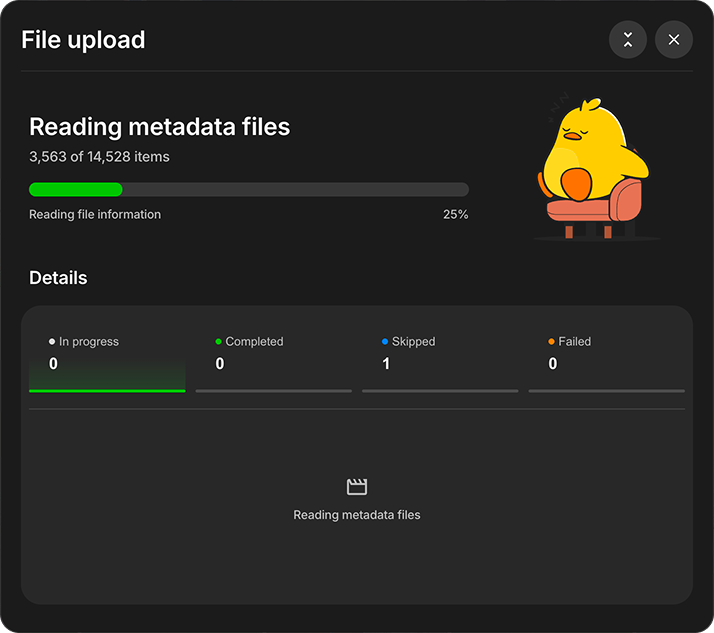
Learn more about stopping an upload, reviewing skipped or failed items, and retrying failures in Import from Local Hard Disk.
Ente reads the Google Takeout metadata it can match with your photos and videos, and encrypts it before upload. Check a sample of imported dates and review failed or skipped items before considering the migration complete.
Resume an import or correct imported dates
If an Ente upload is interrupted, select the same source folder or files again. Ente skips matching files already uploaded to the target album and processes the rest. A skipped file keeps its existing metadata; retrying does not retroactively rewrite its date.
Before cleaning up items in Ente, stop any active import. Items still in the selected source can upload again. If you want to exclude items from a later import, prepare a separate working copy of the source and keep your original export unchanged.
For incorrect dates, follow the date-repair guidance. Keep your Takeout ZIPs, extracted originals, and matching JSON files until you have checked the imported library and verified another backup.
If you run into any issues during this migration, please check out our Migration FAQ page or reach out to [email protected] and we will be happy to help you!
TIP
In case you wish to use face recognition and other advanced search features provided by Ente, we recommend that you enable machine learning before importing your photos so that the Ente app can directly index files as they are getting uploaded.